
How to Build a Cybersecurity Home Lab (Free, Beginner-Friendly Setup)
Everyone in cybersecurity tells you the same thing: “get hands-on experience.” Cool. Nobody tells you how you’re supposed to do that when you don’t have a job yet, don’t have a budget, and the only computer you own is the one you’re reading this on.
Here’s the good news. You can build a fully working hacking lab on hardware you almost certainly already have, using tools that are 100% free, in an afternoon. No cloud bill, no expensive gear, no permission needed. This is the exact setup I started with, and it’s where you actually learn this stuff — not by watching videos, but by breaking things safely until they make sense.
Let’s build it.
// Why a home lab beats everything else
Reading about hacking is like reading about swimming. The certs are worth getting and the theory matters, but you don’t understand a vulnerability until you’ve exploited one with your own hands and watched a shell pop open on a machine you weren’t supposed to be able to control.
A home lab is your sandbox. It’s a place you can run attacks, break operating systems, and screw up over and over with zero consequences, because everything in it is fake and isolated. That’s the whole point — you get to be reckless somewhere it’s safe to be reckless.
It’s also the single best thing you can put on a resume when you don’t have job experience. “I built a home lab and exploited X” is a real story you can tell in an interview. “I read about X” is not. Employers know the difference.
// What you actually need (you probably already have it)
People massively overcomplicate this. To start, you need exactly one thing:
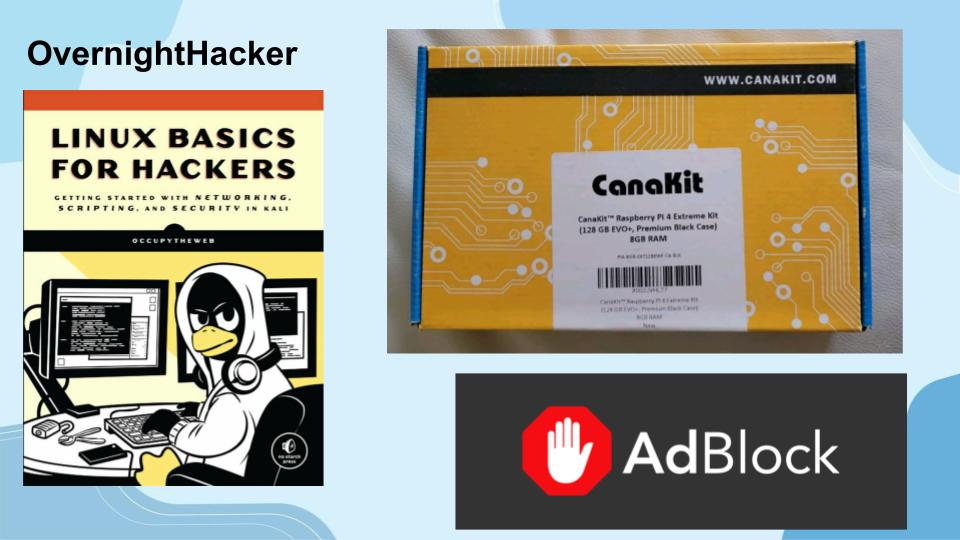
A computer with at least 8GB of RAM. 16GB is more comfortable, but 8GB genuinely works for a basic lab. An old laptop collecting dust is perfect for this.
That’s it. Everything else in this guide is a free download. Later you can add a cheap Raspberry Pi for network projects, but you don’t need it on day one.
// Step 1: Install VirtualBox (the foundation of your lab)
First, a plain-English definition, because this is the only “concept” you need to get: virtualization means running fake computers inside your real computer. Each fake computer (called a virtual machine, or VM) thinks it’s a real PC, but it lives in a window on your actual machine. If you destroy one, your real computer doesn’t care. You just delete it and spin up a new one.
VirtualBox is the free software that makes those fake computers. Download it from Oracle’s official site, install it like any normal program, and you’re done with step one. Don’t overthink it.
// Step 2: Set up Kali Linux (your attacker machine)
Kali Linux is a free operating system built specifically for hacking. It comes with hundreds of security tools already installed — Nmap, Burp Suite, Metasploit, the whole toolbox — so you don’t have to hunt down and install each one yourself.
The easiest way to get it running: grab the pre-built VirtualBox image straight from the Kali website (look for the one labeled for VirtualBox), then import it into VirtualBox. It boots up as a ready-to-go VM. No painful manual install.
One habit to start immediately: once Kali boots successfully, take a snapshot. A snapshot is a saved checkpoint of the VM. When you inevitably break something — and you will — you click “restore snapshot” and you’re back to a clean machine in seconds. Future you will be very grateful.
// Step 3: Give yourself something to hack
You have an attacker now. You need a victim.
Important, non-negotiable rule: never point your tools at websites or systems you don’t own. That’s not “hacker grey area,” that’s a federal crime. Your lab exists so you never have to.
Instead, download an intentionally vulnerable machine — a VM that was designed to be hacked for practice. Metasploitable 2 is the classic beginner target: it’s basically a digital punching bag full of weaknesses for you to find. Import it into VirtualBox the same way you did Kali.
Then the safety step that matters most: set the network mode on both VMs to Host-Only. In plain terms, this puts your attacker and your target on a private little island where they can talk to each other but can’t reach the internet or your real home network. So when you start scanning aggressively, you’re not accidentally hammering your own router or, worse, your ISP. Isolated lab, no accidents.
// Step 4: Your first actual hack
This is the part that hooks people. The basic flow of almost every attack looks like this:
First you scan the target to see what’s running on it — you point Nmap (a scanning tool that’s already in Kali) at your victim’s IP address and it tells you which doors are open. Then you find a weak door, some service running an old vulnerable version. Then you exploit it, usually by firing up Metasploit, picking the matching exploit, pointing it at the target, and running it. If it works, you get a shell — meaning you’re now controlling the target machine from your Kali terminal.
That first shell popping open is the moment it clicks. You went from “I read about this” to “I just did this.” If you want a fully guided version of this exact experience before doing it yourself, the next section is your shortcut.
// Not ready to build VMs? Start here instead
If wiring up VirtualBox feels like a lot on day one, there’s a zero-setup on-ramp: TryHackMe. It runs in your browser, walks you through everything step by step, and has a free tier that’s genuinely good for beginners. Their beginner rooms hold your hand through your first scan and your first exploit without you installing anything.
My honest recommendation: do a handful of TryHackMe rooms to build confidence and get the concepts, then come back and build the local lab from this guide. The local lab gives you unlimited free practice with no time limits, but TryHackMe is the gentlest possible start.
// Level up: turn your home network into a lab
Once the VM stuff feels normal, the next great project is a Raspberry Pi running Pi-hole. It teaches you real networking and DNS concepts (the systems that make the internet actually work), it blocks ads on your whole network as a bonus, and it looks fantastic as a project you can show off. I wrote a full beginner walkthrough for that one — link it as an internal post here so readers go deeper into your site.
// What to do once your lab is running
Here’s a simple roadmap so you don’t just stare at a working lab wondering what’s next:
Work through beginner boxes one at a time, and write down everything you do in a notes app like Obsidian — every command, every step, what worked and what didn’t. Those notes become your personal playbook and they make the next box faster. Pair the hands-on practice with a foundational cert like CompTIA Security+ so you’ve got the theory backing the practical skills. And document what you’re doing publicly — on a blog or a GitHub — because that public trail is what turns “I practice in my lab” into proof a future employer can actually see.
// Common beginner mistakes (avoid these)
The big one, again, is attacking real targets. Your lab and authorized platforms like TryHackMe only. No exceptions.
The second is not taking snapshots. You’ll break Kali, you’ll have no clean state to return to, and you’ll lose an evening reinstalling. Snapshot early, snapshot often.
The third is tutorial hell — watching endless videos without ever opening your own terminal. You learn this by doing, badly, repeatedly. A messy hour of hands-on practice beats five hours of passive watching every single time.
// FAQ
Is building a home lab legal? Yes. Running your own isolated virtual machines and attacking them is completely legal — they’re your computers. What’s illegal is attacking systems you don’t own or have written permission to test. Keep everything inside your lab and you’re fine.
Do I need an expensive, powerful computer? No. A machine with 8GB of RAM is enough to run a basic lab with an attacker and a target VM. An old laptop works great.
Is all of this actually free? Yes. VirtualBox, Kali Linux, Metasploitable, and the TryHackMe free tier are all free. You can build the entire lab in this guide without spending a cent.
Do I need to know Linux first? No. You’ll pick up the Linux basics as you go just by using Kali. Don’t wait until you “know enough” — you learn by doing.
How long until I can do something cool? A weekend. You can realistically have a working lab and pop your first shell within a day or two of starting.
// Wrapping up
That’s a real, working hacking lab built for free on hardware you already own. No gatekeeping, no budget, no excuses left. Start with one target, pop one shell, take notes, and repeat. That’s genuinely how this whole career starts for most people — one broken VM at a time.
If you want more beginner-friendly breakdowns like this, jump on the newsletter and the Discord so you don’t miss the next one.


Leave a Reply