Published on OvernightHacker.com | Homelab | How-To
I work overnight shifts staring at monitors. You’d think I’d come home and want nothing to do with screens.
You’d be wrong.
A while back I decided to actually do something with my home network instead of just being a passenger on it. I’d been hearing about Pi-hole for ages — that it blocks ads at the DNS level, that it gives you a dashboard showing everything your devices are phoning home to, that it runs on a Raspberry Pi for like $40. I finally just bought one and figured it out.
This is that story. I’m going to tell you exactly what I did, what tripped me up, and how to do it yourself. If you’ve never touched a Raspberry Pi before, that’s fine — I’ll explain what you actually need to know.
What Is Pi-hole and Why Should You Care?
Pi-hole is a network-wide ad blocker that works by acting as your DNS server.
Okay, let me unpack that.
When you type a URL into your browser, your device doesn’t magically know where that website lives. It asks a DNS server — basically the internet’s phone book — to look up the IP address for that domain. Normally your ISP handles that. My ISP is Spectrum, which means Spectrum can see every domain I’m looking up. Cool, right?
Pi-hole sits between your devices and the internet. When a device asks “hey where is doubleclick.net?” — Pi-hole checks its blocklist, sees that doubleclick.net is a known ad/tracking domain, and just says “nowhere.” The request dies there. No ad loads. No tracker fires.
And it doesn’t just block ads in your browser — it blocks them at the network level. Your smart TV, your phone on WiFi, your game console — everything goes through Pi-hole. Ads in apps, in streaming interfaces, in places where you normally can’t install an ad blocker. Gone.
The bonus for security-minded people: Pi-hole logs every DNS query on your network. You can actually see what your devices are reaching out to, which is genuinely eye-opening. Your TV talks to a lot of places you never told it to.
What You Need
Here’s the shopping list, kept simple:
- Raspberry Pi — I went with the Raspberry Pi 4 (2GB RAM model). Overkill for Pi-hole alone, but I wanted room to run other stuff eventually. The Pi 3B+ works great too and is cheaper.
- MicroSD card — 16GB minimum, 32GB is better. Get a decent brand (SanDisk or Samsung) — cheap cards die.
- Power supply — Use the official Raspberry Pi USB-C power supply if you can. Underpowered supplies cause random instability.
- MicroSD card reader — You’ll need this to write the OS image to the card from your computer.
- Ethernet cable — Wire your Pi directly to your router. Don’t run a DNS server over WiFi. Just don’t.
- A case (optional but recommended) — Keeps dust out, looks cleaner, and some have passive cooling built in.
Total cost for me was around $60-70 all in, picking up a Pi 4 kit that bundled the power supply and case.
Step 1: Flash the OS to the MicroSD Card
Download Raspberry Pi Imager from the official Raspberry Pi website (raspberrypi.com/software). It’s free, it runs on Windows, Mac, and Linux.
Plug your MicroSD card into your reader, open Imager, and:
- Click Choose Device → select your Pi model
- Click Choose OS → go to Raspberry Pi OS (other) → select Raspberry Pi OS Lite (64-bit)
We want Lite because Pi-hole is headless — no desktop, no GUI, just a command line. It uses less resources and there’s nothing to accidentally break.
- Click Choose Storage → select your SD card (double-check this — you don’t want to wipe the wrong drive)
- Click Next
Before it writes, Imager will ask if you want to apply OS customization settings. Say yes. This is important.
In the customization panel:
- Set a hostname (I used something like
pihole.local) - Enable SSH and set a username/password — this is how you’ll control the Pi remotely
- Set up your WiFi if you need it for initial setup (though again, wire it for actual use)
Click Save, then Yes to write. It’ll take a few minutes. When it’s done, pop the card into your Pi.
Step 2: Boot It Up and Find It on Your Network
Plug the Pi into your router via ethernet, plug in power, and wait about a minute for it to boot.
Now you need to find its IP address. A few ways to do this:
Option A: Log into your router’s admin page (usually 192.168.1.1 or 192.168.0.1) and check the connected devices list. Look for your hostname.
Option B: If you’re on Linux or Mac, try:
ping pihole.local
Option C: Use a network scanner like nmap to scan your subnet:
nmap -sn 192.168.1.0/24
(Replace with your actual subnet — check your router settings if you’re not sure)
Once you have the IP, SSH in:
ssh yourusername@192.168.1.X
You should land at a terminal prompt on the Pi. That’s your homelab, alive and running.
Step 3: Give the Pi a Static IP
Before you install anything, lock down the Pi’s IP address so it never changes. Pi-hole has to be at a consistent address — if your router hands it a different IP after a reboot, your whole network loses DNS.
Option A (easier) — Do it in your router: Log into your router admin, find the DHCP reservation or “static IP” section, and assign a permanent IP to your Pi’s MAC address. Every router is different but the option is usually called something like “IP/MAC Binding” or “DHCP Reservation.” This is what I did.
Option B — Do it on the Pi itself: Edit /etc/dhcpcd.conf and add:
interface eth0
static ip_address=192.168.1.X/24
static routers=192.168.1.1
static domain_name_servers=192.168.1.1
Replace the IPs with your actual network addresses. Reboot after.
Pick one method, not both.
Step 4: Install Pi-hole
This is the easy part. One command:
curl -sSL https://install.pi-hole.net | bash
The installer will walk you through a GUI-style menu in the terminal. Here’s what you’ll be choosing:
- Upstream DNS provider — This is where Pi-hole sends requests for domains it doesn’t block. I picked Cloudflare (1.1.1.1). Google, OpenDNS, and Quad9 are other solid options.
- Blocklists — Accept the default. You can add more later.
- Install web interface — Yes. This gives you the dashboard.
- Install lighttpd — Yes. This is the web server that serves the dashboard.
- Log queries — Yes. This is what makes the dashboard useful.
- Privacy mode — I left it at the default (shows all query data).
At the end of the install it’ll show you:
- Your Pi-hole dashboard URL (something like
http://192.168.1.X/admin) - A randomly generated admin password — write this down
Step 5: Point Your Network at Pi-hole
Pi-hole is installed. Now you need your devices to actually use it.
The right way — change your router’s DNS: Log into your router admin and find the DNS settings under the WAN or DHCP section. Change the DNS server to your Pi’s static IP. Every device on your network will automatically use Pi-hole from now on, no configuration per-device needed.
With Spectrum, you might need to dig around — it could be in the “Gateway” settings depending on whether you’re using their modem/router combo or your own router.
If you can’t find it or your ISP locks the DNS settings (some do), you can alternatively set the DNS manually on each device, but that’s tedious and doesn’t cover smart home devices.
Step 6: Check That It’s Working
Open a browser and go to http://192.168.1.X/admin (your Pi’s IP). Log in with your password.
You should see the dashboard start populating with queries almost immediately. If you see DNS traffic flowing in and some percentage is being blocked — you’re live.
A few quick checks from the terminal:
# Is Pi-hole running?
pihole status

# Is it listening on port 53?
sudo ss -tulnp | grep :53

# Test that DNS actually resolves through it
dig google.com @127.0.0.1
If pihole status shows DNS and blocking as active, and dig returns an answer — you’re good.
Step 7: Keeping It Updated
Pi-hole updates regularly. Keeping it current matters, especially since there have been security patches in recent versions. The update command is simple:
pihole -up
Your network will lose DNS for a minute or two while it updates — completely normal. If DNS doesn’t come back after the update finishes:
sudo systemctl restart pihole-FTL
That command restarts the core DNS engine. I’ve had to run it a couple times after updates — it does the job.
What I Noticed After Running It
The dashboard is genuinely fascinating. Within the first 24 hours of running Pi-hole, I could see:
- How often my smart TV was trying to call home (constantly)
- Ad domains being blocked from apps on my phone I didn’t know served ads
- The sheer volume of tracking requests that never make it out of my network
Blocking rate on my network usually runs somewhere around 15-20% of all DNS queries. That means roughly 1 in 5 DNS requests hitting Pi-hole is something it kills. Not a typo.
From a security learning standpoint, this is a legitimately useful tool. Watching DNS traffic is a foundational part of network security monitoring — you start to recognize what normal looks like, and that makes abnormal easier to spot.
Common Issues
“Pi-hole is running but I still see ads” Some ads are served from the same domain as the content (YouTube, for example). Pi-hole can’t block those without breaking the content too. This is a known limitation — it’s not broken, that’s just how those platforms work.
Slow internet after installing Check that Pi-hole is actually resolving DNS, not timing out and causing your devices to wait. Run dig google.com @127.0.0.1 and see if you get a fast response. If it times out, check your upstream DNS setting and that port 53 is listening.
If your ISP (Spectrum, in my case) is having issues, that’ll look like Pi-hole slowing things down when really your modem signal is degraded. Check 192.168.100.1 for modem stats if you’re on cable.
“pihole restartdns” doesn’t work Use sudo systemctl restart pihole-FTL instead. Learned this one the hard way.
Where to Go From Here
Pi-hole is just the start. Once you’ve got a Pi sitting on your network, you’ve got a platform:
- Unbound — Run your own recursive DNS resolver so you’re not dependent on Cloudflare or Google at all
- Wireguard — Turn your Pi into a VPN server so you get Pi-hole protection on your phone even when you’re away from home
- Portainer + Docker — Start running containers on the Pi and add services (Nextcloud, Uptime Kuma, Home Assistant)
- Network monitoring — Tools like ntopng or Zeek let you go deeper on traffic analysis
A Raspberry Pi in your homelab is basically a free security lab. You don’t need expensive gear to start learning how networks actually work — you need a $40 computer and an ethernet cable.
Before You Go: Read This Book
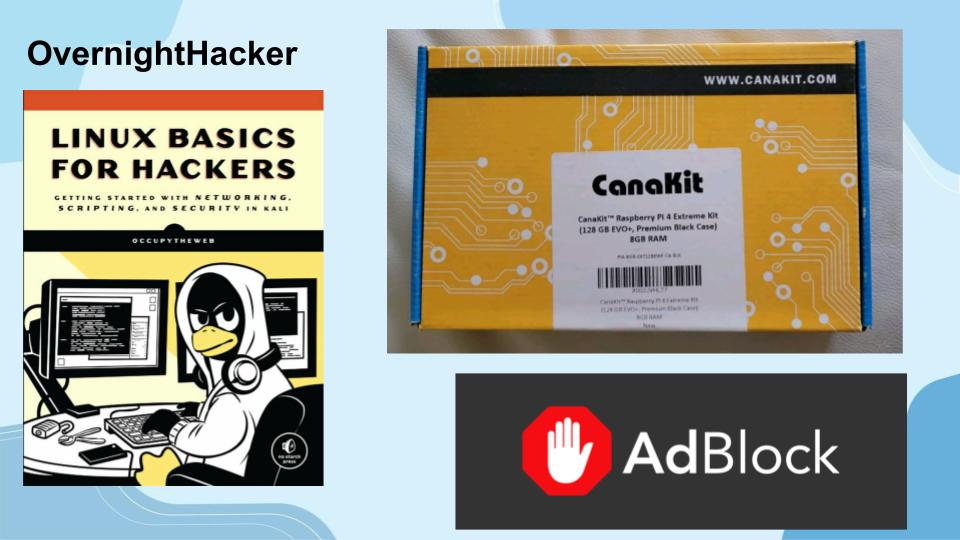
If this article got you interested and you’re thinking about going deeper into cybersecurity, there’s one book I’d point you to before anything else: Linux Basics for Hackers by OccupyTheWeb.
Here’s why it matters for what we just did: everything in this guide — SSH, the terminal, editing config files, running commands — lives on Linux. The Raspberry Pi runs Linux. Kali runs Linux. Every major security tool you’ll eventually want to use (Nmap, Metasploit, Burp Suite, Wireshark) was built for Linux first. If the command line still feels like a foreign language, that’s the gap this book fills.
OccupyTheWeb is an infosec consultant and trainer with over 20 years in the industry — he also trains US military personnel and DoD contractors, so he knows how to teach this stuff to people who actually need to use it. The book doesn’t assume you’re a developer. It assumes you want to hack things and need to understand Linux to do it. That’s the right frame.
Topics it covers: command line basics, filesystems and permissions, networking, BASH scripting, package management, logging, and the Linux kernel. All taught using Kali, the same distro you’d be using if you’re on TryHackMe or working through any pentesting content.
There’s a 2nd edition out now (ISBN 9781718503540) — grab that one over the original. Available on Amazon, Barnes & Noble, or direct from No Starch Press.
If you’re the type of person who just followed a homelab guide and thought “I want to understand what these commands are actually doing” — that book is your next step. I’d read it before picking up any certification study material. The fundamentals it builds make everything else click faster.
That’s how I started. Pi on the network, book on the desk, terminal open. Still running, still blocking, still learning.
Got questions about the setup? Drop a comment or hit the contact page. Running a different Pi model or distro? I’m curious what your setup looks like.


Leave a Reply